
Water-Damaged Popcorn Ceiling: Repair, Remove or Replace?
Updated August 30, 2026
A contractor’s guide to tracing the leak, assessing stained popcorn texture and drywall, and choosing repair, full removal, or replacement before paint.
- Trusted since 2005
- Fully insured
- Dust-controlled sanding
- Paint-ready finishing
- 3-year workmanship warranty
Quick Answer
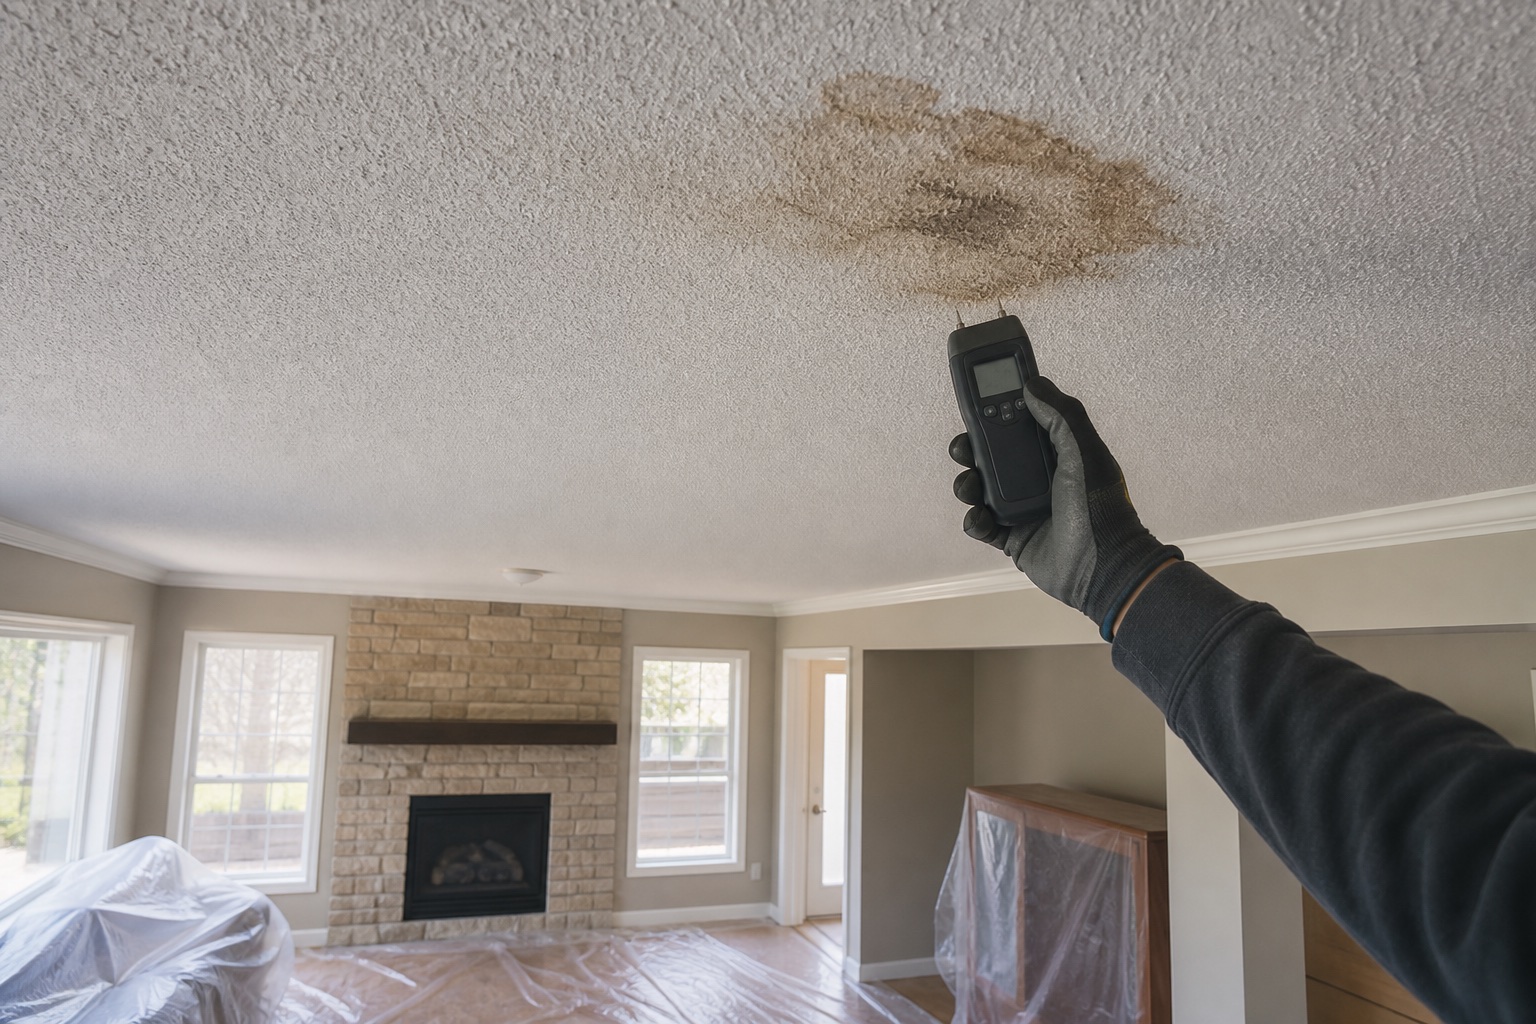
Fix and verify the moisture source before touching the ceiling finish. A small dry stain over firm drywall may need limited repair and stain-blocking primer, but loose texture, damaged tape, soft board, repeated staining, or a poor texture match can make broader popcorn removal and smooth-ceiling refinishing the better option. Drywall that has lost strength must be cut out and replaced rather than hidden with compound or paint.
A water stain on a popcorn ceiling is evidence, not a diagnosis. The mark may come from a roof leak, plumbing line, overflowing fixture, condensation, an HVAC issue, or water that travelled along framing before appearing. Before anyone scrapes texture, applies stain blocker, or sprays a patch, the source must be found, repaired, and given enough time to prove dry. Otherwise a tidy cosmetic repair can hide an active problem for only a short time.
For ceilings that need broader removal and refinishing, EPF’s professional popcorn ceiling removal service covers protection, controlled removal, drywall correction, skim coating, sanding, primer, and a smooth painted finish. Water damage adds an assessment step before that normal sequence.
Start here: what the visible condition usually means
| What you see | What it may indicate | Sensible next check |
|---|---|---|
| Dry yellow or brown ring; texture still firm | A past leak or condensation event | Confirm the source is repaired and check moisture before sealing the stain |
| Texture bubbling, flaking, or hanging | Finish adhesion has failed after wetting | Avoid disturbing it until material age and safety concerns are reviewed |
| Soft, sagging, or swollen ceiling | Drywall core or face paper may have lost strength | Have the assembly assessed; replacement may be safer than surface patching |
| Straight crack or ridge through the stain | A joint, tape seam, or old patch may have moved | Inspect the tape and board support after the leak is resolved |
| Stain returns after primer or paint | Moisture may remain, or the wrong primer was used | Recheck the source and moisture instead of adding another finish coat |
First priority: stop the water and verify the ceiling is dry
Ceiling finishing should not start while the cause is uncertain. A plumbing repair, roof repair, bathroom exhaust correction, or HVAC service may need to happen first. The right trade depends on the source. If water is near lights, fans, junction boxes, or other electrical components, a qualified electrician may also need to assess the area. Ceiling contractors should not guess that the assembly is safe because the surface feels dry from below.
Drying is not proved by the stain turning lighter. Moisture can remain in insulation, the back of the board, wood framing, or a cavity with limited airflow. The time required depends on how much water entered, how long it was present, room temperature, humidity, insulation, and whether wet material was opened or removed. A moisture reading compared with unaffected areas can support the decision, but the history and physical condition still matter.
If the leak is active, water is pooling, the ceiling is bulging, or material appears ready to fall, keep people away from the area and arrange appropriate professional help. Do not puncture a bulge or work around energized fixtures based on internet instructions. The immediate goal is safety and source control, not preserving the texture.
Older popcorn texture needs a safety decision before disturbance
Some older sprayed ceiling materials can contain asbestos. Appearance, colour, and texture do not confirm or rule that out. Water damage does not make the material safe to scrape, sand, drill, or cut. If the age or material history creates a reasonable concern, testing and the appropriate handling plan belong before disturbance. A tiny wet patch is not permission to create airborne dust across the room.
The same caution applies when loose texture has fallen. Avoid dry sweeping, sanding, or aggressively breaking unknown material. Keep the area undisturbed as practical and obtain advice suited to the property and material. EPF can plan ceiling refinishing after any required testing or specialized work has established a safe scope.
When a localized repair may be enough
A limited repair can make sense when the leak was small and isolated, the source is permanently corrected, readings and time indicate the area is dry, the drywall is firm and flat, tape remains bonded, and the texture around the mark is stable. The repair may involve removing only unsound finish, correcting a small substrate defect, sealing the stain with a suitable primer, matching the existing texture, and repainting an appropriate area.
The hard part is not filling the damage. It is matching an aged popcorn pattern and paint colour. Spray texture density, aggregate size, previous paint layers, sunlight, and roller direction all influence the result. Even a technically sound patch can remain visible because the new texture has a different shadow pattern. Painting only the patch can add a second difference in colour and sheen.
For a low-visibility utility room, an honest local blend may be acceptable. In a bright living room, open main floor, or ceiling crossed by window light, the repair may draw the eye every day. Homeowners should decide whether the goal is to stop deterioration, make a reasonable blend, or produce a uniform modern ceiling. Those are different scopes and prices.
When removing the popcorn across the room is the better repair
Broader removal becomes attractive when the damaged texture cannot be matched, the ceiling already has several stains or patches, the homeowner planned to modernize the room, or the affected area sits in a strong sightline. Instead of trying to reproduce an old texture locally, the room can be taken to one consistent smooth finish. That usually means assessing release, removing or preparing the texture, repairing the substrate, skim coating, sanding with dust control, priming, and applying flat ceiling paint.
This does not mean every stained ceiling must be stripped. It means the finish decision should account for the whole plane. Popcorn texture disguises small differences; a patch changes those differences locally. If a room has connected ceiling areas without a natural stopping line, limiting the work to one spot can leave a noticeable island. Doorways, bulkheads, beams, and changes in ceiling height can sometimes create sensible boundaries.
The existing guide on ceiling leak repairs before smooth-ceiling finishing explains why source repair and substrate stability come before the decorative system.
When drywall should be cut out and replaced
Drywall replacement should be considered when board is soft, sagging, delaminated, crumbling, badly swollen, contaminated, or unable to hold fasteners and finish reliably. Replacement may also be necessary when opening the ceiling is required to repair plumbing, inspect framing, remove wet insulation, or access another building component. Compound cannot restore structural integrity to gypsum board that has lost it.
The affected section should be taken back to sound material and supported properly. Repair edges need backing or framing where required, fasteners must be set without breaking the face, and joints must be taped and feathered wide enough for the ceiling’s lighting. If the surrounding ceiling remains textured, the choice is then to match texture or extend smoothing to a logical boundary.
EPF’s drywall repair service is the relevant path when the leak has left soft board, an access opening, failed tape, or a ceiling section that needs replacement before refinishing.
Why stain-blocking primer is useful—but not a leak repair
Water staining can migrate through ordinary drywall primer and ceiling paint. Once the source is fixed, the material is dry, and damaged surfaces are repaired, an appropriate stain-blocking primer can isolate residual discolouration. Product selection must suit the substrate and coating system. A finish coat alone may look clean while wet and show the brown or yellow mark again after drying.
Primer cannot strengthen wet board, rebond loose texture, kill an active moisture source, or make a mismatched patch disappear. It is one stage in a repair system. It should be applied after the ceiling is stable and properly prepared, not used to avoid investigating what caused the stain.
Painted and unpainted popcorn behave differently after a leak
Unpainted popcorn may absorb water readily, soften, and release from the drywall. Painted popcorn can shed some surface moisture, but water entering from above may still damage the drywall while the painted texture looks relatively intact. Multiple paint coats can also make local removal and texture blending more difficult. The sealed surface resists wet scraping and may pull drywall paper when forced.
A small test in a safe, cleared project can reveal adhesion and paint layers, but it should come only after safety and moisture questions are settled. If the painted texture is strongly bonded and the board is sound, a prepared skim-coat approach may be considered. If the board itself is compromised, covering the surface is not the right correction.
Repair, remove, or replace: a contractor decision framework
| Condition | Likely direction | Why |
|---|---|---|
| Small dry stain; firm board; stable texture | Localized repair and stain control | Preserves the ceiling when a reasonable texture blend is acceptable |
| Stable board; damaged texture; match will be obvious | Remove or refinish to a logical boundary | Creates one consistent surface instead of a visible patch |
| Soft or sagging board; failed paper or tape | Cut out and replace damaged drywall | Restores a sound substrate before finish work |
| Repeated or unexplained staining | Investigate first | Cosmetic work will fail if moisture continues |
| Older unknown texture | Testing or specialist advice before disturbance | Method must follow the material risk, not convenience |
What the complete smooth-ceiling sequence looks like
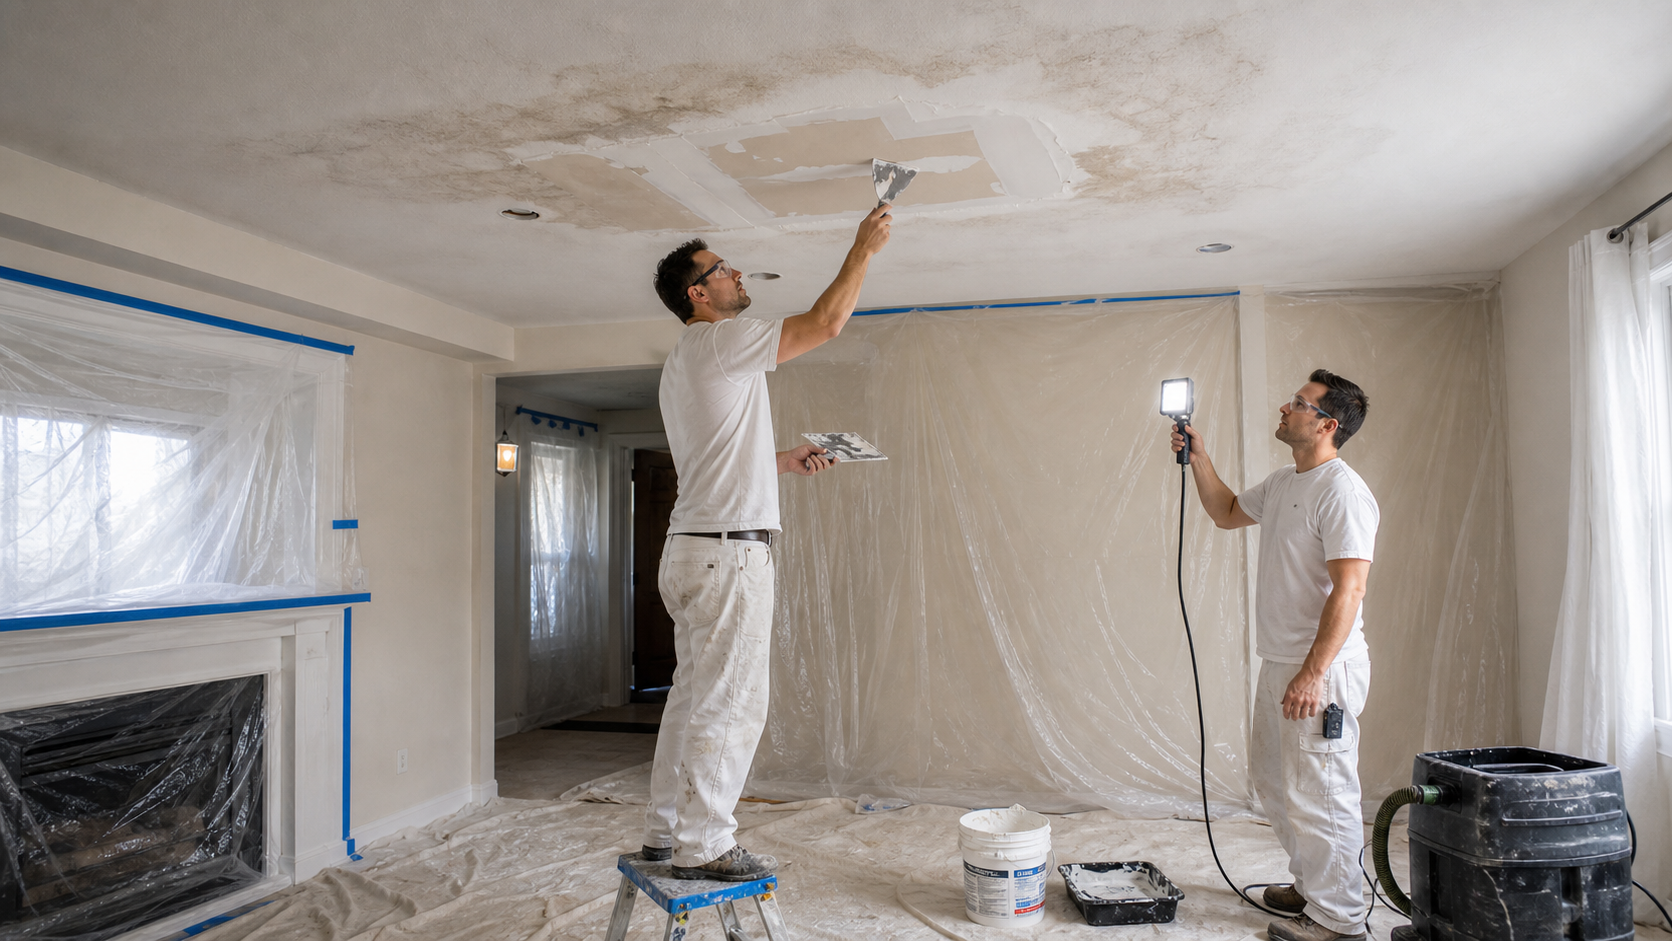
After source repair and drying, the room is protected and the ceiling condition is documented. Unsafe or unsound material is handled under the correct plan. Damaged board and tape are repaired. The remaining popcorn is tested to decide whether controlled removal, preparation and skim coating, or a mixed method is appropriate. The ceiling is then flattened in deliberate coats instead of one heavy application.
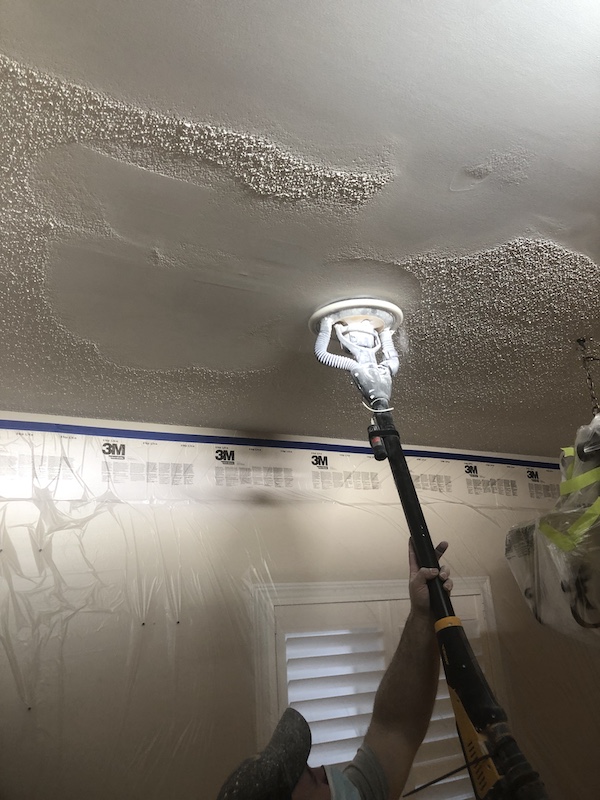
Each coat needs enough drying time. High edges are controlled, low areas are filled, and transitions around patches are feathered broadly. Sanding should be connected to effective dust extraction where practical, with vents and adjacent rooms protected. A raking-light check helps expose ridges, pinholes, scratches, proud seams, and repair halos before primer.
Primer seals the repaired surface and becomes another inspection stage. Touch-ups are completed and spot-primed as needed. Flat ceiling paint is generally the forgiving choice, but it will not hide waves created earlier. The ceiling should be viewed from normal doorways, windows, seating areas, and under the fixtures that will actually be used.
Local planning across EPF service areas
The repair logic is the same across the GTA, but access and finish expectations change the scope. Bright open rooms in Oakville and Burlington can show patch transitions strongly. Mississauga condos may add building access, elevator, parking, and work-hour requirements. Hamilton and Stoney Creek projects may combine leak access with older finishes or several connected ceiling planes. Grimsby homeowners may be deciding whether to patch one room or modernize ceilings during a larger renovation.
Use the relevant local page for scope and service details: Oakville popcorn ceiling removal, Burlington ceiling removal, Mississauga popcorn ceiling removal, Hamilton ceiling refinishing, Stoney Creek popcorn ceiling removal, or Grimsby popcorn ceiling removal.
Contractor field note: the smallest patch is not always the least expensive-looking option
Homeowners often assume a six-inch stain should receive a six-inch repair. On textured ceilings, the technically repaired area can remain more noticeable than the original mark because texture, colour, and sheen change together. Before choosing a local patch, stand at the main doorway and window and identify the natural stopping lines. A larger but coherent finish area can look better than a tiny repair surrounded by old texture.
What to send for a useful quote
Send one wide photo from each end of the room, close-ups of the stain and any sagging or loose texture, the room dimensions, ceiling height, and photos showing nearby lights, vents, crown moulding, cabinets, bulkheads, and connected areas. Explain when the stain appeared, whether it changed, what caused it, who repaired the source, and how long the area has been dry.
Also mention the approximate age of the ceiling, whether the popcorn has been painted, whether material testing has been completed, and whether the room is occupied or furnished. If the ceiling was opened by a plumber or roofer, include the opening size and a photo showing framing or backing. These details help separate a stain-control visit from drywall replacement or full smooth-ceiling refinishing.
How to compare quotations for the same damaged ceiling
Make sure each contractor is pricing the same finished result. One quotation may cover only a texture patch and stain primer, while another includes removing the room’s popcorn, repairing drywall, skim coating, sanding, priming, and painting. Ask whether source repair is assumed complete, how dryness will be checked, what happens if soft board is found, and where the finish boundary will stop. Protection, fixture handling, waste removal, daily cleanup, final paint, and return visits should be named rather than inferred.
A contingency is especially important when the ceiling cannot be fully assessed from below. The written scope can describe a base repair plus unit rates or approval steps for additional damaged drywall discovered after opening. That is more useful than a low fixed number that excludes every hidden condition. Compare the completed appearance, safety assumptions, and repair method—not only the square footage or the time spent in the room.
For an assessment, send EPF your ceiling photos and leak-repair details. The written scope should state source assumptions, protection, removal or patch boundaries, board and tape repair, skim coating, sanding, primer, paint, cleanup, and exclusions.
Final recommendation
Do not begin with paint. Begin with the water source, safety, dryness, and board condition. Keep the repair local when the substrate is sound and a texture blend will meet expectations. Remove and smooth a broader area when matching will look patched or the homeowner already wants a modern finish. Replace drywall when water has damaged its integrity. That order protects the home and prevents cosmetic work from burying a problem that will return.
FAQ
Can a water stain on a popcorn ceiling simply be painted over?
Only after the source is repaired, the area is confirmed dry, and the ceiling is stable. Repairs and an appropriate stain-blocking primer may be needed before finish paint.
Does wet popcorn ceiling texture have to be removed?
Not automatically. Stable dry texture over sound board may allow a local repair, but loose finish, poor adhesion, safety concerns, or an impossible match can justify broader removal.
How do I know whether water-damaged ceiling drywall needs replacement?
Softness, sagging, swelling, delamination, crumbling, failed fastener support, or contamination are reasons for professional assessment and often replacement rather than surface filling.
Can stain-blocking primer stop a ceiling leak stain from returning?
It can isolate residual discolouration after a completed repair, but it cannot stop moisture. A recurring stain requires another source and moisture investigation.
Should an older water-damaged popcorn ceiling be tested for asbestos?
If age or material history creates concern, appropriate testing should be considered before scraping, sanding, drilling, or cutting. Appearance cannot confirm asbestos content.
Can one section of popcorn texture be matched after a leak?
Sometimes, but aggregate, application, age, paint, and lighting make exact matches difficult. A sample can set expectations; broader refinishing may look more uniform in visible rooms.
Related local pages and guides
Keep Planning Your Project
professional popcorn ceiling removal
Primary pillar page receiving authority from this repair decision guide.
ceiling drywall repair
For soft board, access openings, failed tape, and replacement patches.
ceiling leak repairs before smooth finishing
Related same-cluster guide.
repairing water-damaged drywall
Related drywall cluster guide.
Oakville popcorn ceiling removal
Priority local money page.
Burlington popcorn ceiling removal
Priority local money page.
Mississauga popcorn ceiling removal
Priority local money page.
request a ceiling assessment
Photo-based quote CTA.
Field Photos
What the Work Can Look Like
Article Review
AuthorAlex - EPF Pro Services
Reviewed byEPF Pro Services
UpdatedAugust 30, 2026
Ready to plan your ceilings?
Get a popcorn ceiling quote today
Share photos, ceiling heights, and timing. We reply the same day with Mississauga, Oakville, and GTA availability.
Quick next step